In Progress – Shadow, custom linocut dog portrait
I love my dogs. You love your dogs. We all love doing things for our dogs, and we love to give gifts to friends who have dogs. One can never go wrong with a dog gift. Unless of course you are giving a dog as a gift which is I highly discourage. Unless of course you are a parent giving it to your children, but secretly you wanted the dog and you plan to take care of it.
This is a gift being given by a sister to her brother. “Shadow” is a very important family member and seen by his pose, a little character.
I began Shadow a week ago, looking through several photos. I was struck by two of them, one a close up profile which I love, but I kept coming back to this pose, it became my favorite.
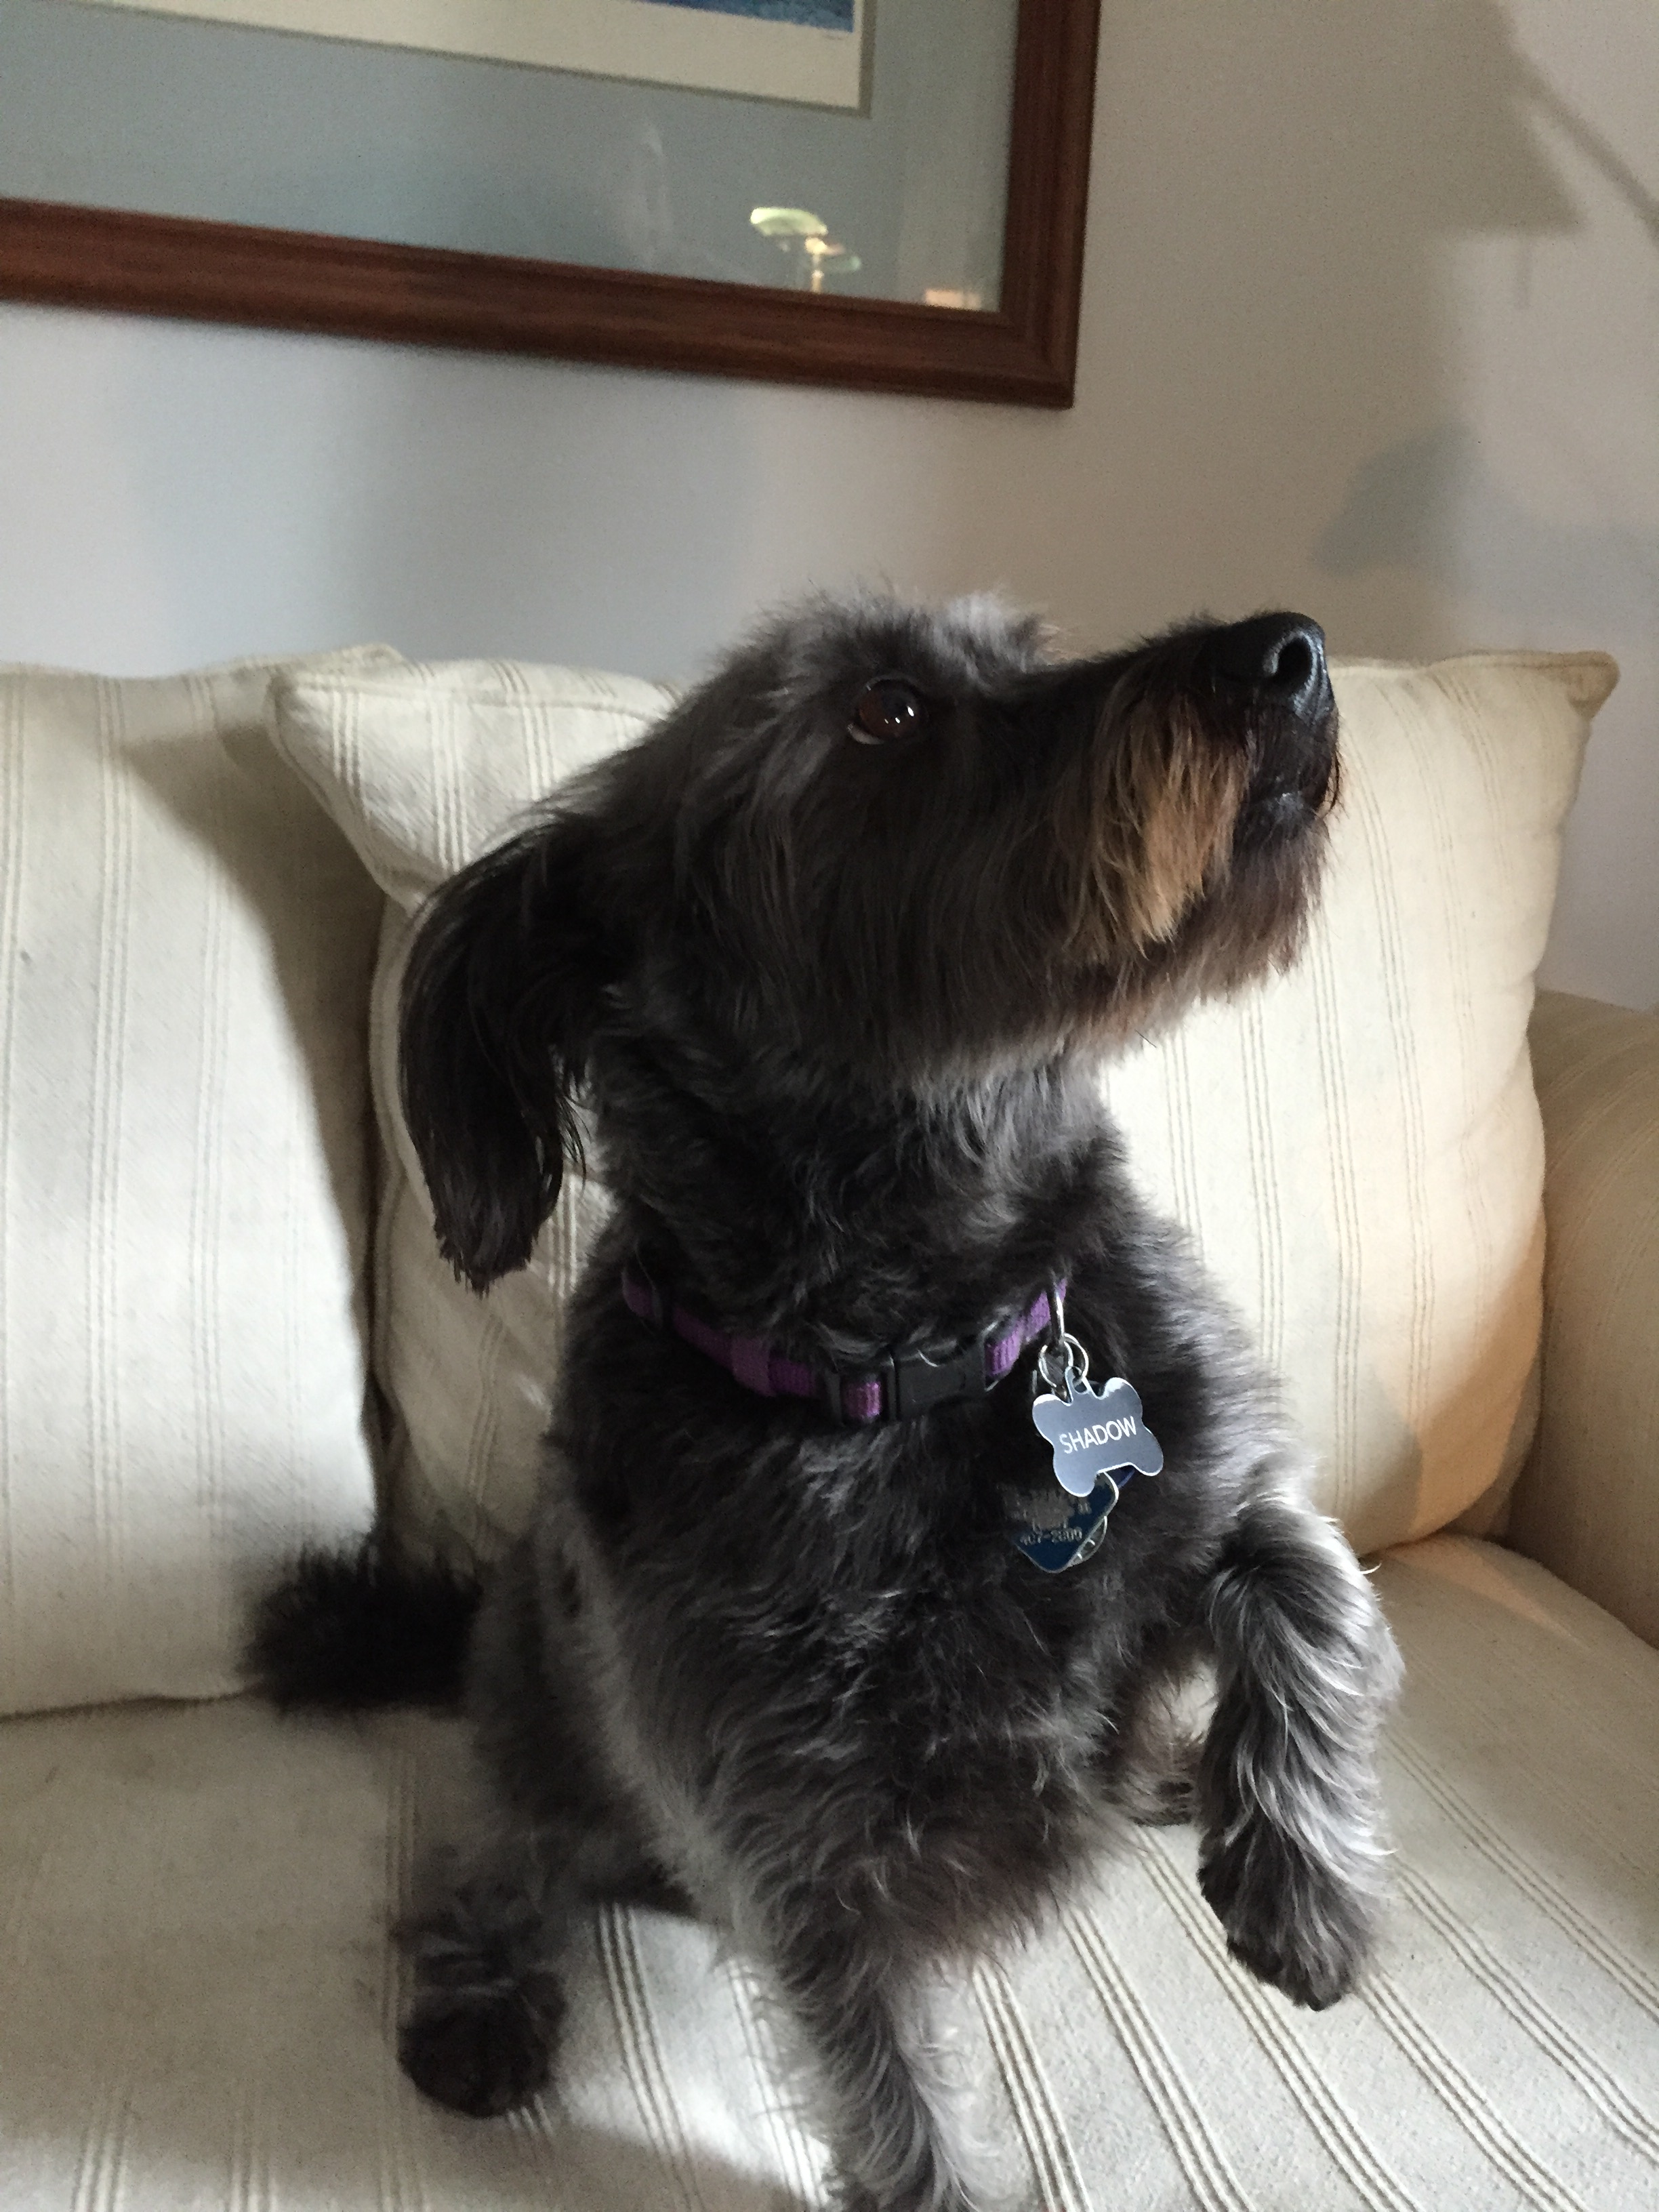
Shadow, photography for linocut
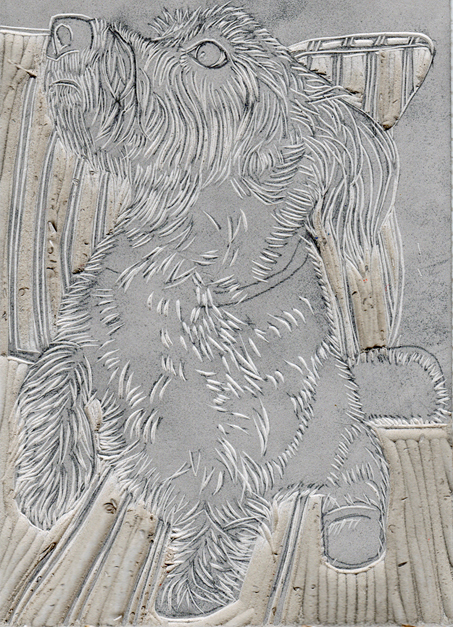
I often have to tease out details by lightning the photos or sharpening them in order to see disguising characteristics. I then draw it onto a linoleum block.

Drawing of Shadow, reversed on the block
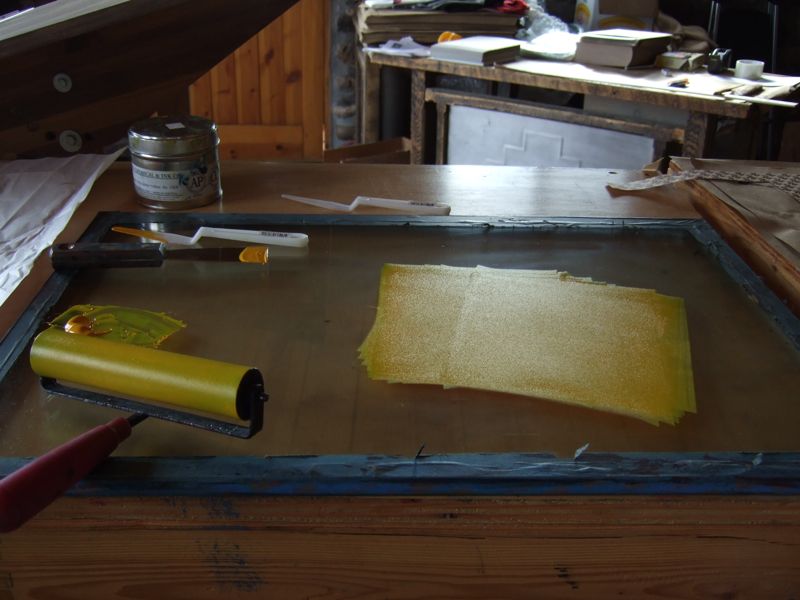
Once the block is drawn it can take anywhere for 4-8 hours to carve. Normally I carve from 4pm until bed time, so that I can print during the best day light.
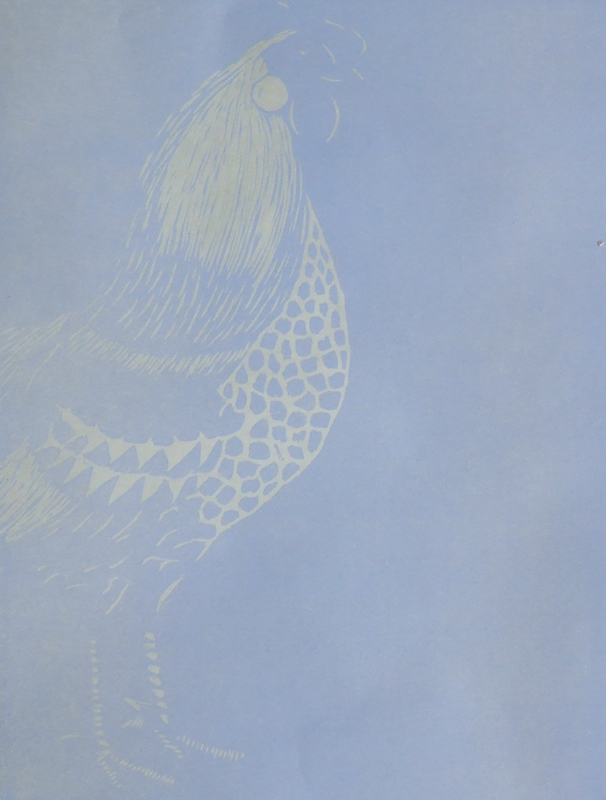
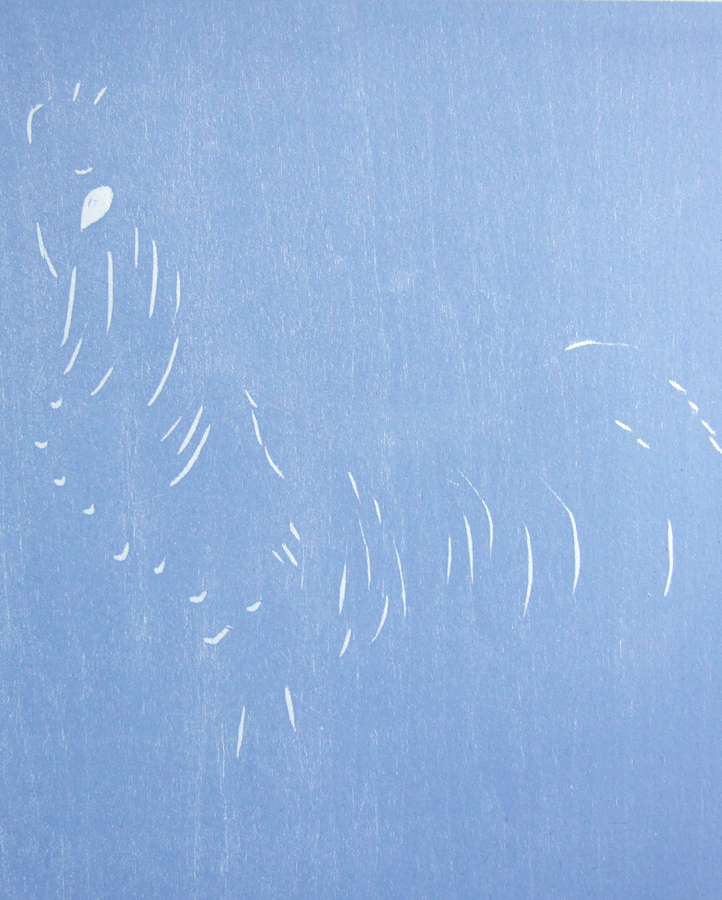
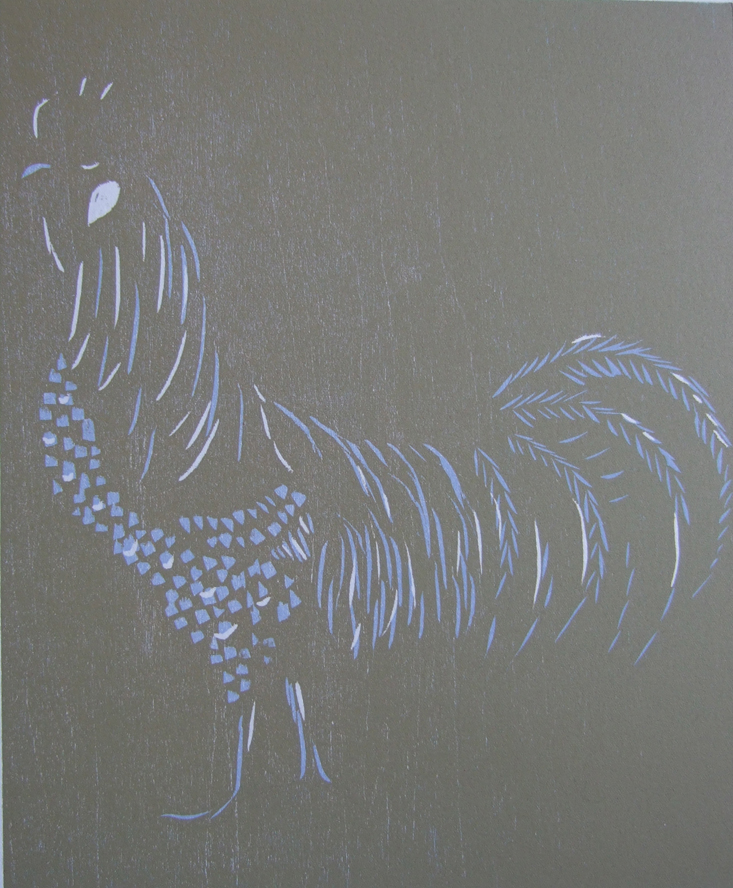
First carving of linocut
This is how the linocut looked when I first printed it. I made one print, then carved a bit more, made another, printed again. I generally make 3-4 “proofs” that is seeing what it looks like, cleaning the block, inking it again and reprinting until I get what I want. On bad days that can take up to 10 separate inking, printing, cleaning, carving inking, etc.
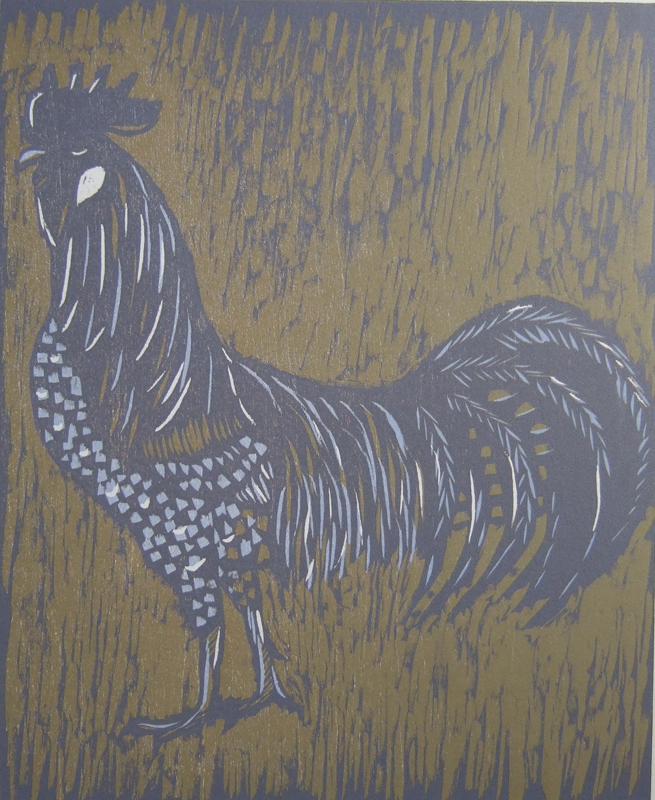
The final print I made of Shadow is dark grey, despite looking black in this photo, he is grey:

Shadow, custom linocut dog portrait in dark grey
I am hanging on to him a few more days as I may want to do a little more carving, and experiment with the ink to make him just a bit more grey.
If you want a custom dog portrait it takes about 1-2 weeks, and you can order from my Etsy Store. The details are there.