Today was sunny and a bit warmer, and it was an excellent printing day. I printed the second color on three separate prints, which means I cranked a block through the press 21 times. With reduction prints, you have to print the entire edition all at once. Here is the Black-tailed Japanese Bantam with the second color printed. As you can see, I cut away the parts I wanted to keep yellow, and then printed the second color, green.

Second color
At this point, there is no going back to the previous state. If I decide now that I wish I had kept another spot yellow, it is too late. Also, I cannot make any more. I printed 7 of these, if I don’t mess any up along the way my edition size will be 7, but it can’t be more. Now that I’ve done two rounds of cutting, I can’t go back to the earlier state. This is why reduction printing is sometimes known as “suicide printing.”
I am working on two other chicken prints as well, here are photos of the first and second colors for the Blue Andalusian chicken.
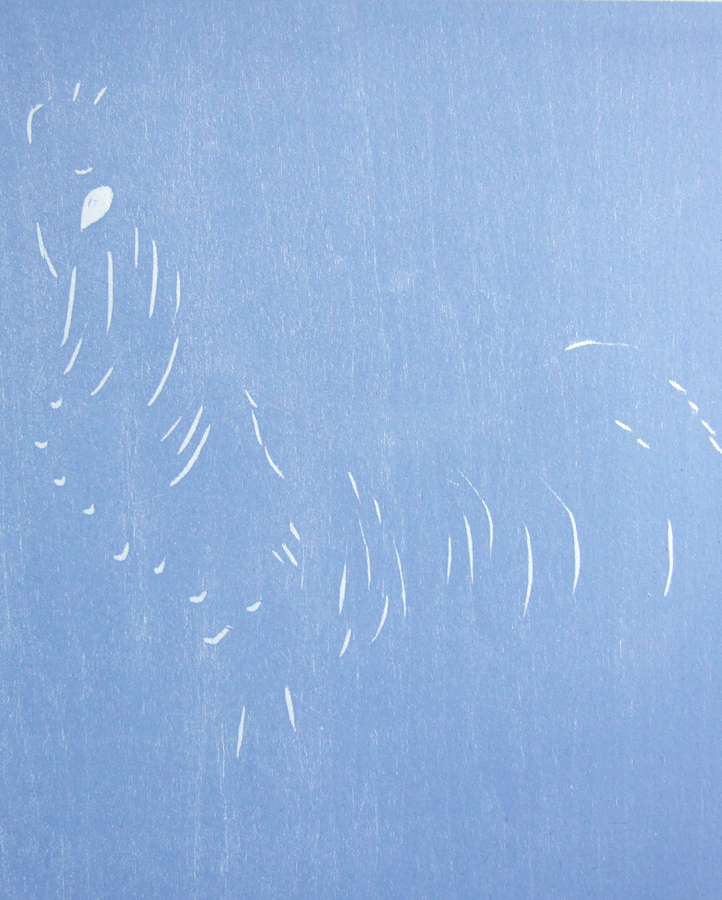
First color
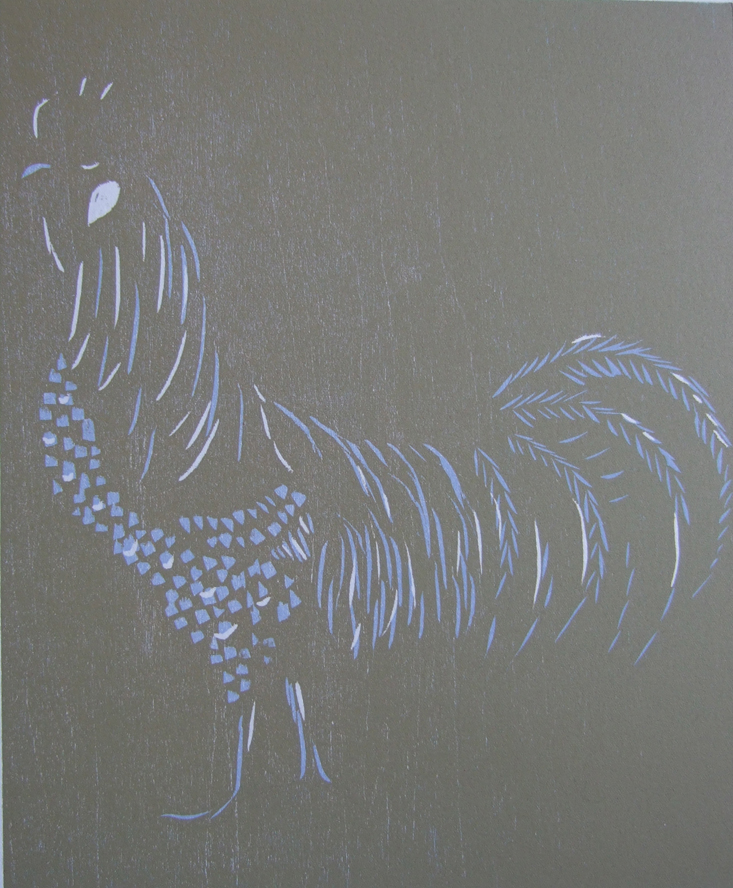
Second color
You can see that the first step was cutting away the parts I wanted to keep white. Then I printed the first color, blue, over the entire block. Next I cleaned off the block and then cut away the parts I wanted to keep blue. And finally I printed the second color, a grey-ish brown. Now you can see the original white lines plus the blue lines. I love watching the image gradually emerge as each color is printed.
In tomorrow’s post, I will talk more about color and the registration process.
