Today I’m going to talk about registration. But first, let me recommend this excellent YouTube video featuring Santa Cruz woodcut artist Bridget Henry. It shows her making a reduction print from start to finish, and does a great job of explaining and showing the process.
So you might be wondering how I line up the block in the exact same spot each time I print. This is called registration, and if it is off by even a fraction of an inch, the underlying colors will be messed up and printed over.
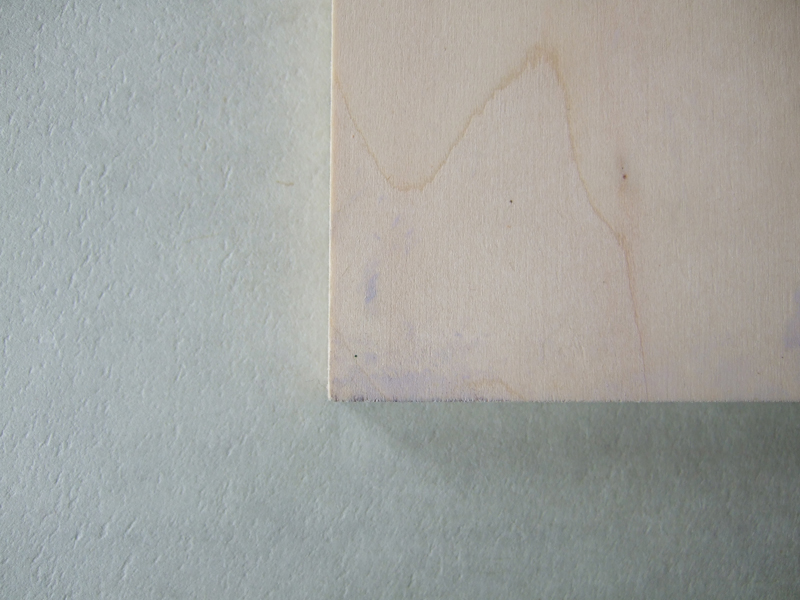
Block on paper ready to print–no ink visible around edges
In this photo, the block is on the paper in the correct spot, covering the colors already printed. No ink is visible around the edges of the block, so this means it is registered correctly and ready to print.
There are various registration methods. If you watch the video I recommended, you’ll see that artist using a wooden frame that she sets the block in so it is held in exactly the same spot each time. The paper is then attached to one end of the frame on pins so it falls over the block in exactly the right spot.
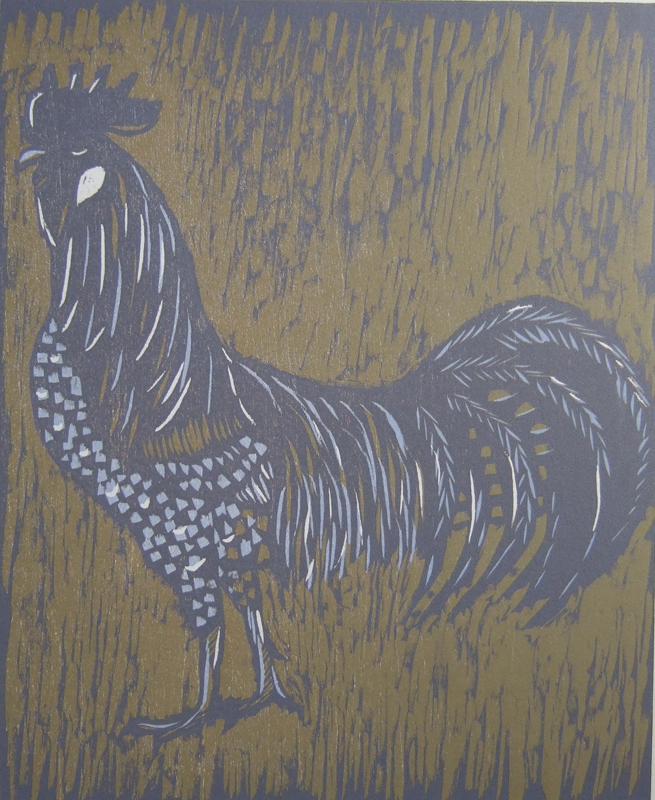
Third color
I have to confess that I don’t use any of these methods. I learned reduction printing when I took a class about 12 years ago with Ben Rinehart. Ben is an amazing artist who makes, among other things, fantastic reduction prints. He taught me to do the registration using a method he calls “plop and drop.” Quite simply, it means I line up the block on the paper by eye. I know that sounds crazy, but with practice your hand/eye coordination improves and it becomes easy. It does require focus and concentration, and it helps to do everything in exactly the same order and rhythm each time. I like the simplicity of it.

Third color
Today I printed the third color on all three prints. I used the same color for all of them because it was cold in the printshop and I didn’t want to clean off the roller and ink slab multiple times. I mixed up a purplish-gray, and now the images are really starting to take shape. I hope to do six colors, so I’m halfway done!

Third color

Your print is looking fabulous. I very much look forward to seeing it progress further. Thanks for outlining the options for registration. I need to figure out a registration system that will work for me at home (no press, just using a baren by hand) if in going to attempt a reduction print so I appreciate the guidance.
LikeLike
Laura after you print your first layer, let it dry. Then after you carve or if you are doing multiple blocks ink the block and line it up by eye laying the block onto the paper. Then carefully flip it over so the paper side is up, and then rub it by hand. I think it will work pretty well for you.
LikeLiked by 1 person
Thank you. I had not thought of flipping the block over. I definitely need to try this.
LikeLike